
Utsav Borad is the founder of OxygenGrey, a digital design asset brand for clothing designers, streetwear brands, and creative professionals. He creates high-quality clothing mockups, vector graphics, Procreate brushes, and fashion design resources that help creators design faster and build stronger brands.
If you have a clothing design ready for production, a sketch alone isn’t enough. Learning how to make a tech pack helps you turn your design concept into clear instructions that a manufacturer can follow.
A tech pack brings important specifics like technical drawings, measurements, materials, construction, and artwork requirements into one organized document. This gives your manufacturer one clear reference, instead of assumptions or scattered messages and files.
In this guide, we’ll cover how to make a tech pack for your clothing brand, what information to include, and how to prepare your specifications for sampling and production.
A tech pack is a document that holds the technical and production specifications for a garment. It takes your visual concept and translates it into clear information so manufacturers can build samples and produce the final product.
A fashion sketch shows the creative vision, while a fashion tech pack provides the technical information needed to turn that vision into a physical garment.
A tech pack keeps your design and production information organized, making conversations with manufacturers clearer and reducing avoidable mistakes.
When you have clear drawings, measurements, and specifications, there’s less space for guesswork.
Detailed measurements, materials, and construction notes help manufacturers create samples closer to your intended design.
A single approved tech pack gives everyone the same reference throughout development.
The finalized specifications can be reused and updated for future production runs.
Drawings, measurements, fabrics, trims, labels, artwork, and colorways can all be managed in one document.
Once you know what a tech pack should include, learning how to make a tech pack becomes much easier. Start with the basic product information, then work out the technical and production specifications step-by-step
These details are the starting point for how to make a tech pack because they identify the exact garment being developed.
Include:
Keeping this information consistent helps manufacturers identify the correct style and makes sure everyone is working from the latest version.
A technical flat is a clean, accurate representation of your garment. Include a front and back view, and add a side view when it’s really needed. Also show the important items like pockets, seams, collars, cuffs, closures, and other design features.
Use crisp technical lines and add enlarged detail views for complex areas. Avoid unnecessary poses, shadows, textures, or fashion-illustration effects that can make production details harder to understand.
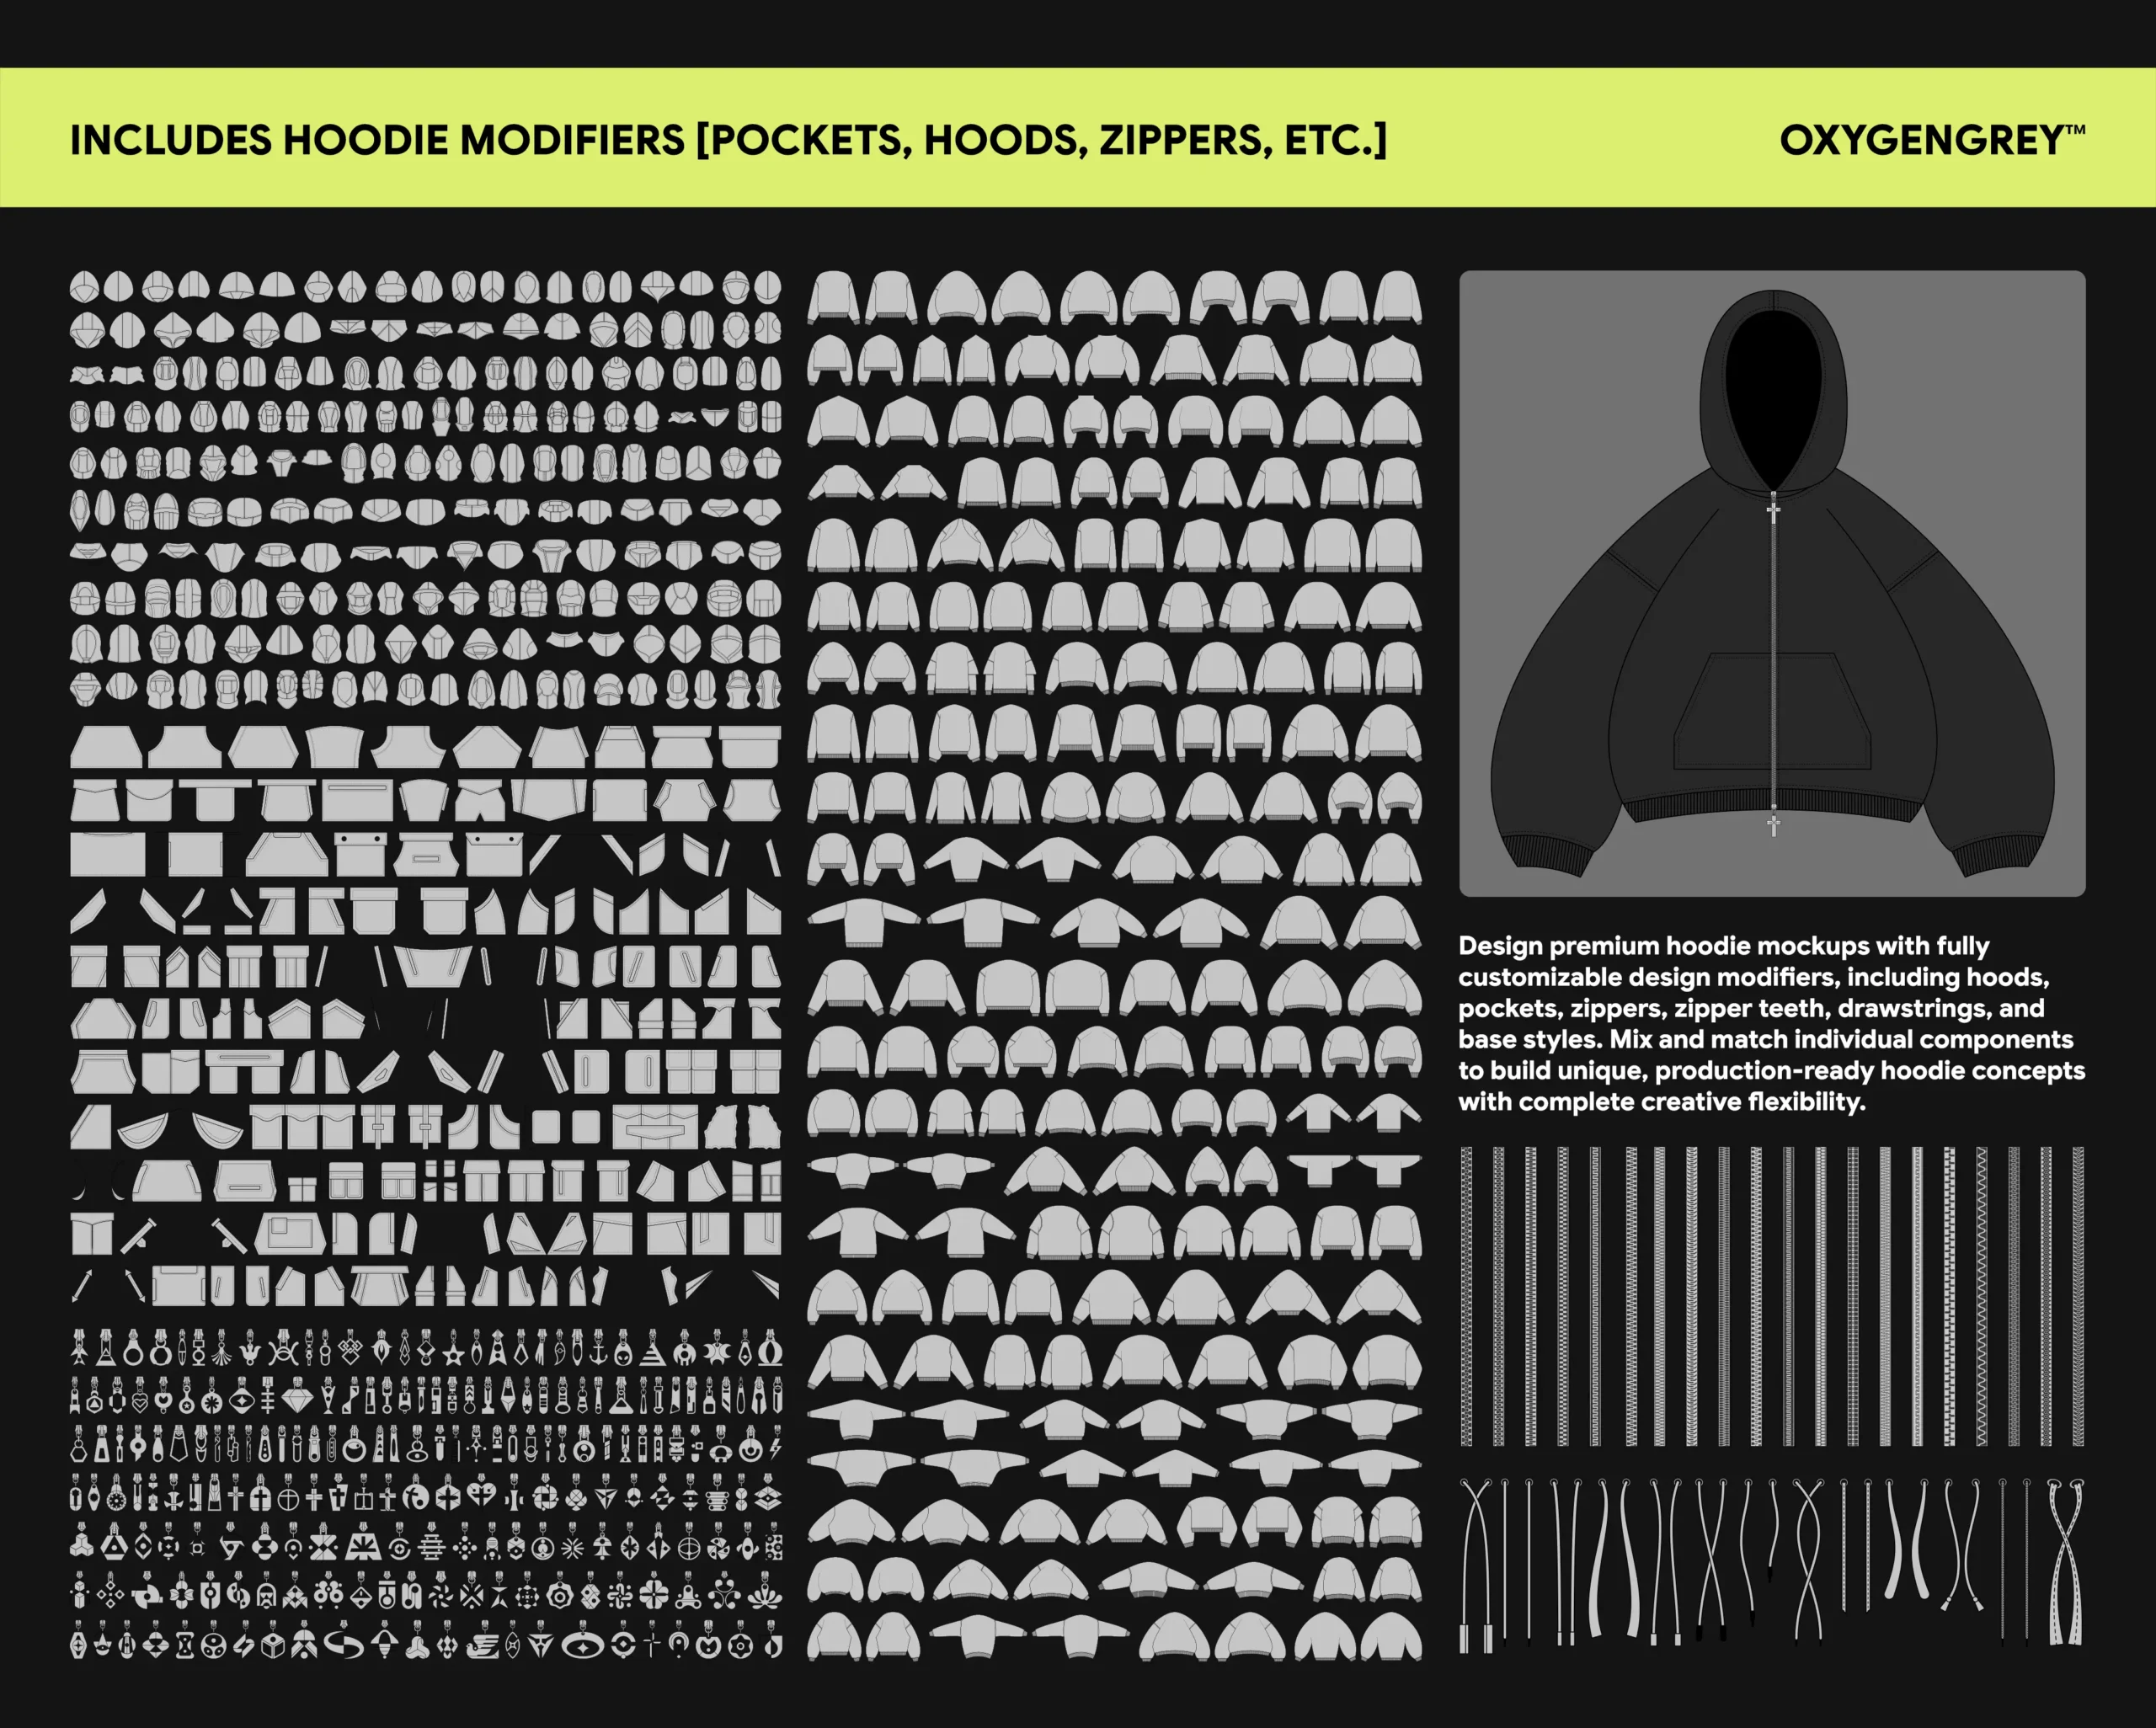
If you need editable garment visuals for your design workflow, Clothing Vector Mockups can help you create clear clothing visuals more quickly. They support the design process, but they don’t replace the full technical specifications that belong in a proper tech pack.
Clearly document the materials required for the garment. Depending on the product, include:
Simply specifying “cotton” may not be enough. Details such as composition, weight, color, and finish can affect the garment’s final appearance and feel, so be as specific as your manufacturer requires.
The Bill of Materials (BOM) is basically the list of physical components you need to make the garment. It helps the manufacturer get a clear view of exactly what materials and trims are required.
A BOM may include:
Keeping these components in one list makes it easier to check that nothing important is missed during sampling and production.
This part is an important piece of how to make a tech pack, because it shows document measurements clearly, so the manufacturer knows exactly what to measure and how the garment should actually fit.
Include:
Each size should have its specified measurement, with consistent units, and make the measurement points clearly defined. That way it’s easier to compare the samples with your intended fit, and spot what adjustments might be needed.
The technical drawing shows what the garment looks like. Construction notes explain how it should be made.
Depending on the garment, document:
Focus on details that could affect the garment’s fit, appearance, or construction. Clear instructions help reduce guesswork during sampling.
For graphic and streetwear brands, you really need production instructions that are clear. Don’t simply attach the artwork file; specify how and where it should appear. Clothing mockups can also help a lot so you can picture the artwork placement and the overall presentation before you lock the final design.
Include:
For example, instead of writing “front graphic,” specify the exact location and the dimensions. This gives the manufacturer a clear reference for reproducing the design.
Make sure you document all the branding elements that will be attached to the garment, including:
Clear label specifications help the branding show up consistently across samples and then again in production.
If the garment is going to be released in a few different versions, document each colorway in a really clear way. Include:
This stops confusion later, when the same style gets produced in several color options, even if people think they remember which one was which.
Before sending your tech pack to the manufacturer, review the complete document and check:
Even a well-designed garment can face production issues if important is missing or unclear. Avoid these common mistakes when preparing your tech pack.
A fashion illustration communicates the overall creative idea, but it usually lacks the technical detail needed for manufacturing. Make sure to add real technical sketches and specifications alongside the visual concept.
Missing measurements or unclear points of measure can lead to fit issues and additional sample revisions. Make sure required measurements are clearly documented for each relevant size.
Specifications such as “black cotton” but it’s usually not detailed enough. Include relevant information such as fabric composition, weight, color, finish, and other material requirements.
Don’t assume the manufacturer will know where artwork should be applied. Specify placement, dimensions, colors, and print and embroidery method.
Small components such as buttons, zippers, drawcords, labels, and hardware can still affect the final garment. Include them in the BOM and provide relevant specifications.
If specifications change during sampling, update the tech pack and its revision details. Sending an old version can result in manufacturers following specifications that are no longer approved.
Your manufacturer can provide production expertise, but important design decisions should not be left to guesswork. Document the specifications that define your intended garment as clearly as possible.
Learning how to make a tech pack helps you turn your clothing concept into clear enough, actionable instructions for your manufacturer. From technical drawings and measurements to fabrics, construction details, artwork, branding, every specification helps bring your design closer to the finished garment.
Take the time to keep your tech pack clear, accurate, and updated . Because the better your specifications are, the easier it gets to share your vision, review samples, and move toward production.
For cleaner garment visuals and a more efficient design workflow, explore OxygenGrey’s digital design assets.
A clothing tech pack is a production document that contains garment specifications, such as drawings, measurements, fabrics, construction details, artwork, labels, and trims.
Start with the product details, then add technical drawings, materials, BOM, measurements, construction details, artwork, labels, and colorways, before you do a final review of the whole document.
A clothing tech pack usually includes product information, technical flats, measurements, sizing, fabrics, BOM, construction details, artwork, colorways, labels, trims, packaging, and revision details.
Yes, a tech pack gives the manufacturer a solid reference for your garment’s design, measurements, materials, and construction, helping avoid confusion during sampling and production.
You can use vector design software for technical drawings, spreadsheets for measurements and BOMs, and document-layout tools to organize the final tech pack.